Create a Standard RAT
Updated: July 24, 2017
A Readiness Assurance Test consists of two activities: the individual Readiness Assurance Test (iRAT) and the team Readiness Assurance Test (tRAT). In this particular case we will be building a standard RAT with no immediate feedback just like a standard multiple choice quiz. If you’d like to add immediate feedback, check out our other guide.
Before you start
- Be sure you’re familiar with how Readiness Assurance Tests work.
- If you need to leave at anytime, click on Exit Builder. Your data will be saved and you’ll be able to complete the RAT when you’re ready.
Creating a RAT
To create a standard RAT, follow these steps:
- Navigate to the space you’d like to add a RAT.
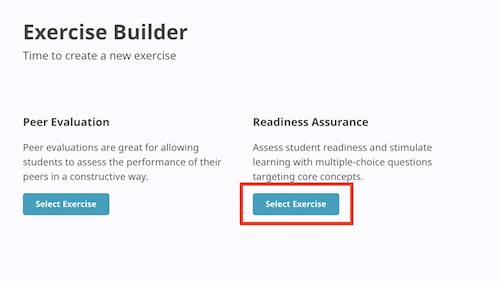
- Click New Exercise.
- Click on Select Exercise under Readiness Assurance
- Give your RAT a name.
- Add some instructions.
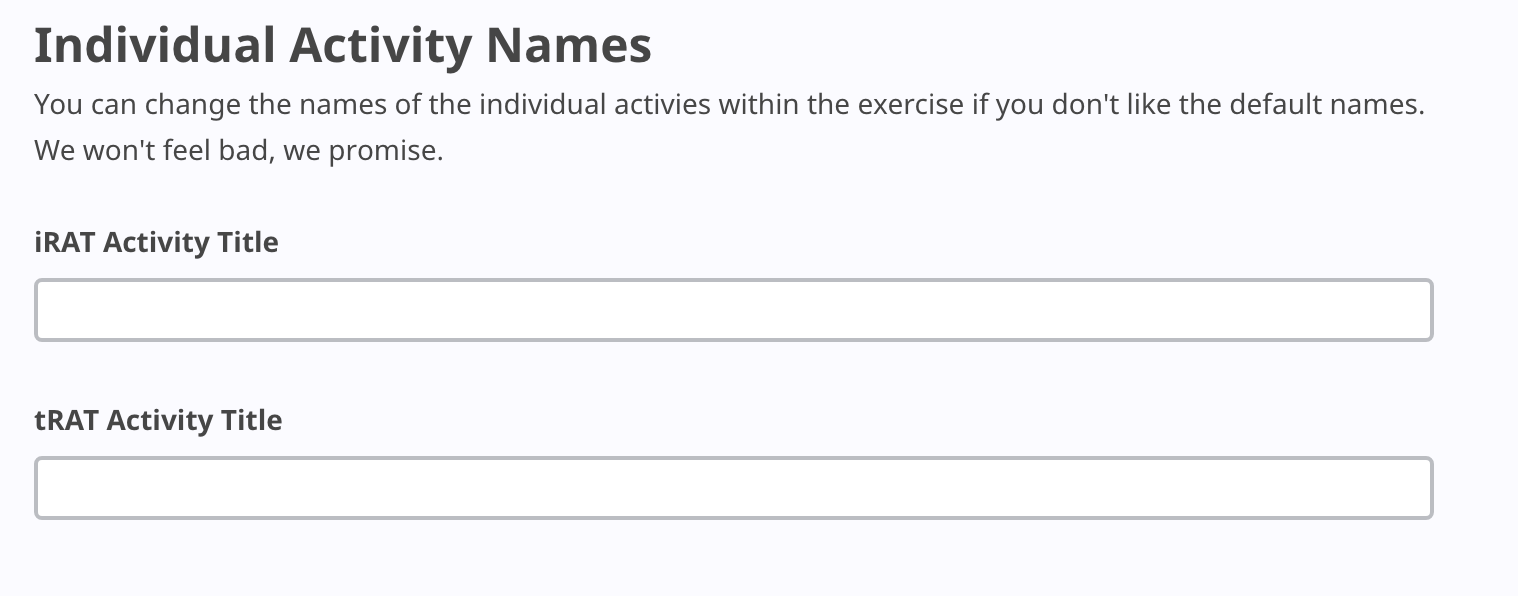
- If you want your iRAT and tRAT to have a different name, add it to the Individual Activity Names. The default names are [exercise name] iRAT, [exercise name] tRAT -Where [exercise name] is replaced by whatever you add as the exercise name.
- Click on Next Step.


Content step
The content step is where you focus on the questions and content of the Readiness Assurance Test.
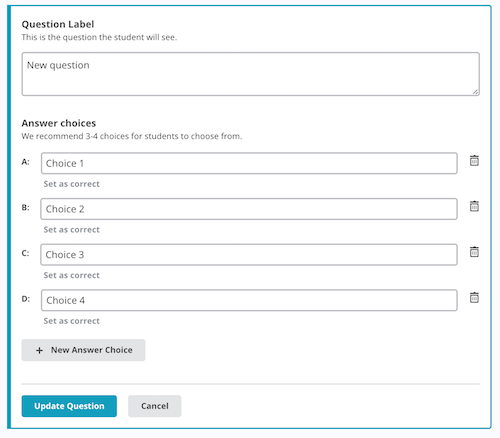
- Click on New Question.
- Add the question in the text area named Question Label
- Add your answer choices in the text inputs provided.
- If you have less than 4 choices, click on the Delete Icon.
- If you have more than 4 choices, click on New Answer Choice.
- Once you have your answer choices entered, set the correct answer by click on Set as correct under the correct choice.
- Click Update Question to save.
- Repeat steps for all the questions you’d like to add.


Settings step
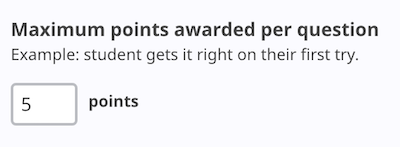
- Add the maximum points awarded per question. This number will be the same across all questions.
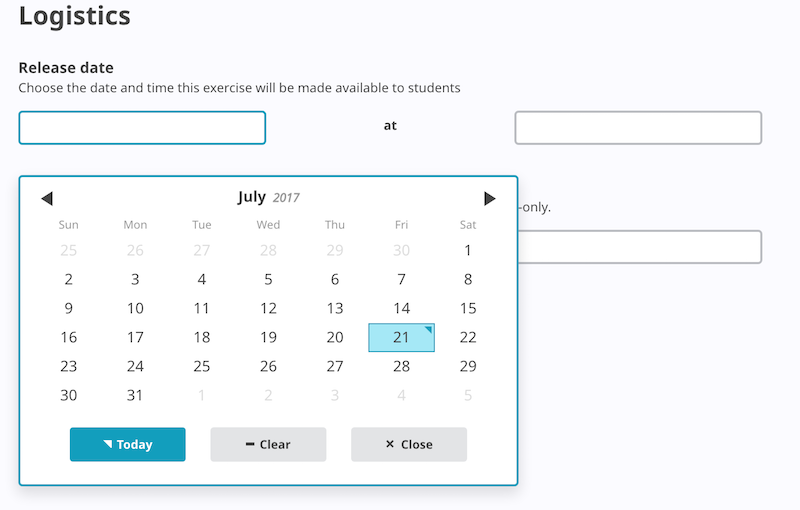
- Choose the date and time you’d like the iRAT to be available to your students
- Choose the date and time you’d like the iRAT to be close.
- Note: You’ll still be able to keep iRAT open or reopen for particular students if you need to.
- Repeat for the tRAT.
- Click on Next Step.
Note: The standard RAT does not provide immediate feedback. If you’d like to add that as an option head on over to our guide on Creating a RAT with Immediate Feedback.
Confirmation step
- Review the details of each section. If you’d like to edit a particular section, click the Edit Button for the section you’d like to change.
- Click Finish Building to complete the process.

If you have any questions contact support@opentbl.com.