Creating teams
Updated: July 24, 2017
Before you start
Here are some things to know before you begin this process:
- You need to have a roster in your space to create teams. Learn how to import your roster.
- Any changes you make to teams can affect current and upcoming exercises. Learn more about the effects of editing a team.
- A student can not be assigned to multiple teams.
Create a team
- Let’s start off by navigating to your space.
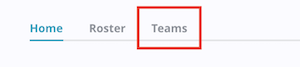
- Click on the Teams subsection
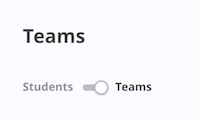
- Switch over to the Students view. The student view lists students in alphabetical order. The teams view lists all the team panels in one page.
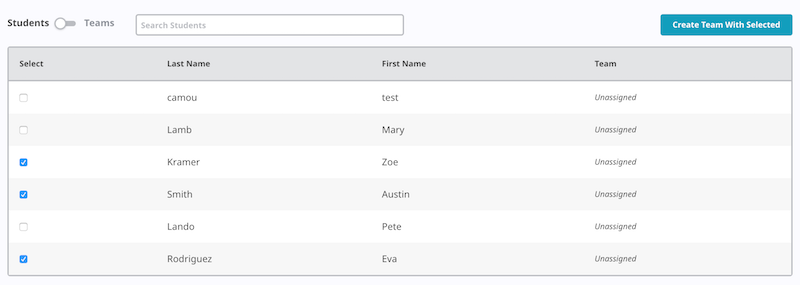
- Click on the student’s you’d like to group together.
- You can turn to the next page without loosing the selected students.
- Once you have all the students you want to group together in a team, click Create team with selected.
- Give your team a name - i.e., Team 1, Gryffindor, etc..
- Choose a team color.
- This is mainly used to distinguish the different teams when looking at a list.
- If the team members look correct, click Create Team.
- You have created your first team! Rinse and repeat until you you all your teams.
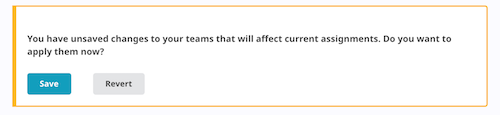
Note: When you make any changes to teams - whether adding a new member, deleting a team, creating a new team, etc.. - OpenTBL will display a notification letting you know that you’ve made some changes. These changes will not be saved until you click Save. If you’re going to be making a lot of changes - like created multiple teams - we recommend saving at the very end so you avoid having to save every time you create a new team.
Once you finish creating your teams, you’ll be able to use them on any exercise you create.
If you have any questions contact support@opentbl.com.