Create a Balance Points Peer Evaluation
Updated: July 24, 2017
Balance points peer evaluation is based off the Michaelsen’s method. Students have 1 slider per team member and he/she must balance a specified number of points between their team members (i.e., If I want to give Timmy 3 more points I must take them away from Sofia).
Before you start
- Be sure you’re familiar with how Peer Evaluations work.
- This guide is specifically for Balance Points evaluations. If you want to have multiple categories on your peer evaluation read our guide here.
- If you need to leave at anytime, click on Exit Builder. Your data will be saved and you’ll be able to complete the evaluation when you’re ready.
Creating a peer evaluation
To create a peer evaluation, follow these steps:
- Navigate to the space you’d like to add a Peer Evaluation.
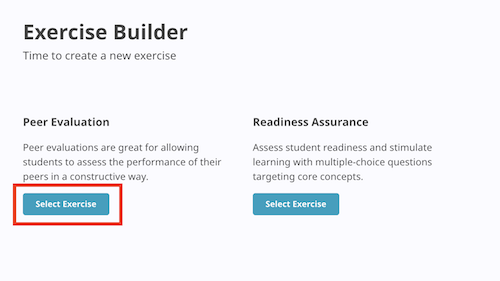
- Click New Exercise.
- Click on Select Exercise under Peer Evaluation
- Give your peer evaluation a name.
- Add an overview to give your students some direction. Students will read this before they go into their exercise.
- Click on Next Step.


Content step
The content step is where you focus on the questions and content of the peer evaluation.
- Choose Michaelsen’s Method (Balance Points).
- If your evaluations have categories, learn how to create a peer evaluation with categories
- Click Select Template.
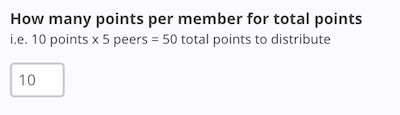
- Choose how many points per member for the total amount to distribute.
- Default is 10 points per member.
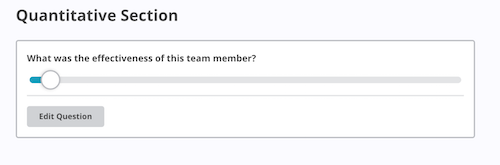
- If you’d like to edit the default question, click Edit Question.
- You can change the label, scale range, and add endpoint labels
- Click Update Question when you’re done editing.
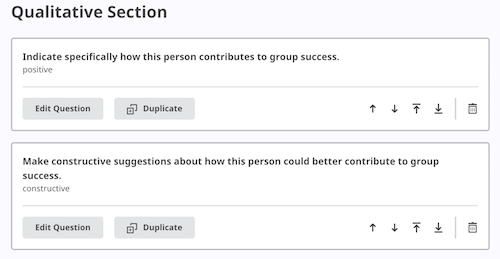
- You’re given two default questions, click Edit Question if you’d like to edit.
- You can change the label and the feedback type.
- Click Update Question when you’re done editing.
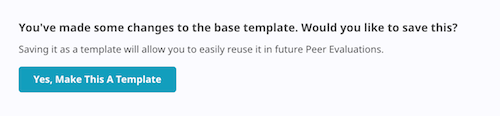
- If you’ve made changes and would like save it as a template, Click on Yes, Make This A Template.
- Name your template and click Save Template.

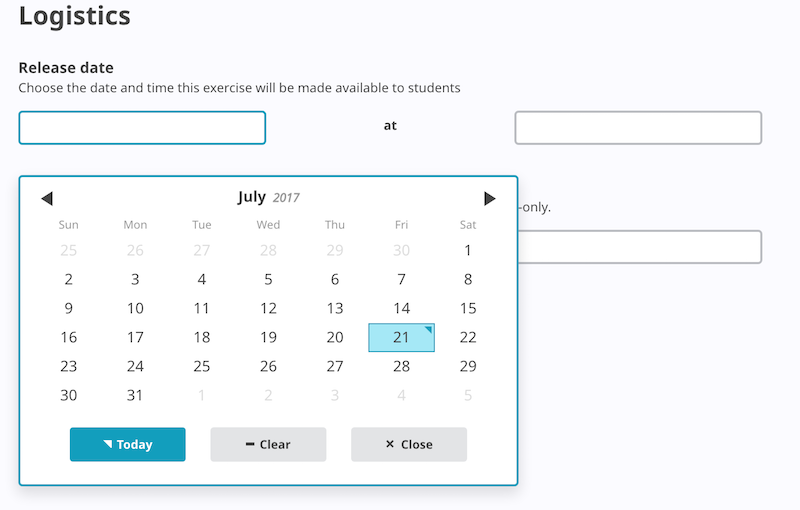
Settings step
- Choose the date and time you’d like the peer evaluation to be available to your students
- Choose the date and time you’d like the peer evaluation to be close.
- Click on Next Step.
Confirmation step
- Review the details of each section. If you’d like to edit a particular section, click the Edit Button for the section you’d like to change.
- Click Finish Building to complete the process.
If you have any questions contact support@opentbl.com.